Monday, November 11, 2013

Honda hobbit and moped rally

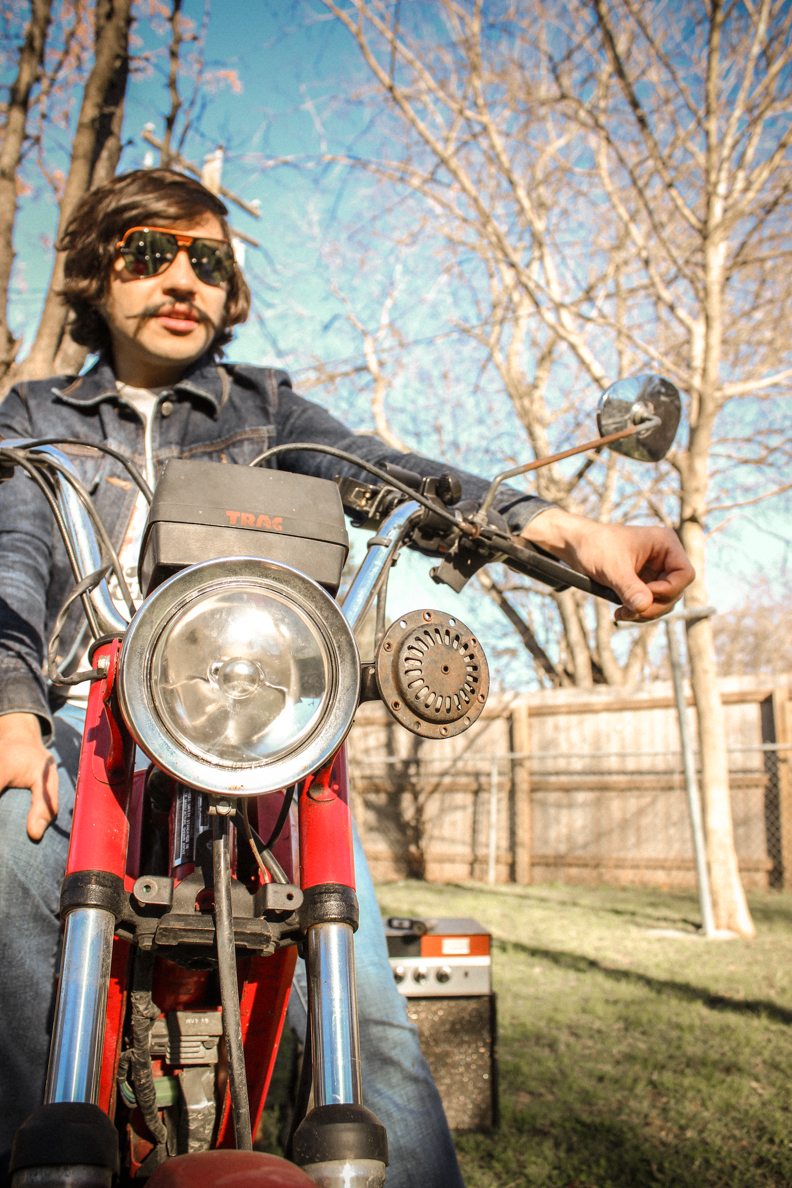
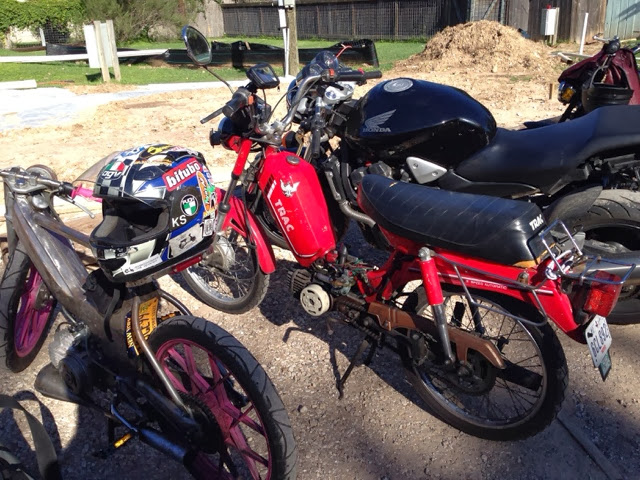
Been a while since an update but the ACR rally got me working on the bikes again. I've been riding the Trac daily and sold my car and van, but that bike wont die and I haven't felt like modding it.
I was excited to have a second bike for the rally so I brought my hobbit out of the shed. This bike has been hours of work since I got it working on consistent spark, repairing case threads, re-wiring everything, setting the timing, replacing tires, screwing with the carb...finally I bring it out after months and for the first time the motor pops and starts running.
This little bike felt the rally magic.
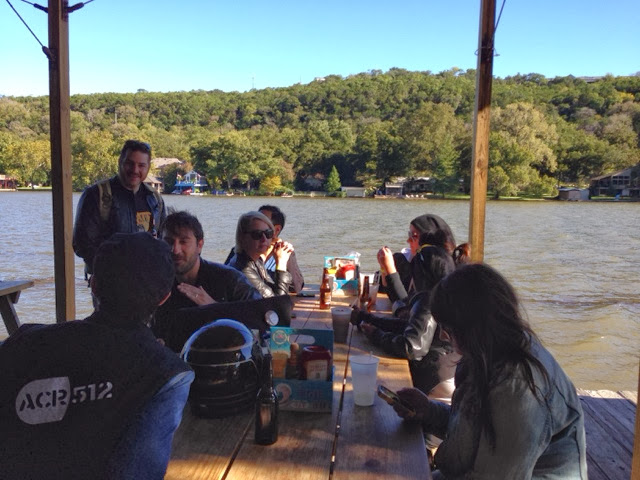
The rally was awesome. I didn't get to take many photos but here's the ones I have.
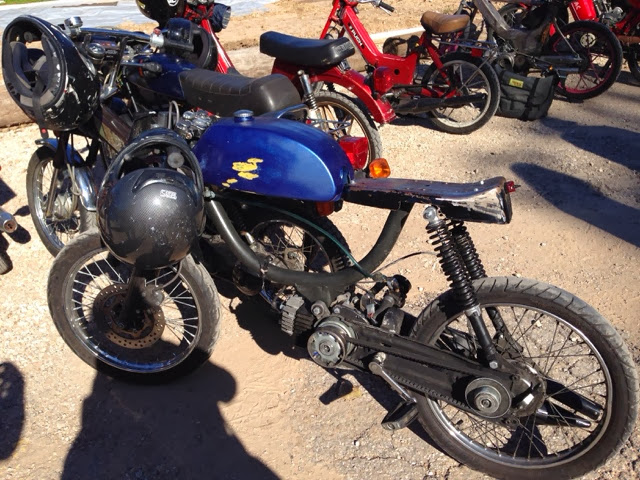
This bike was very cool, but lost a lot of speed when the pipe broke.
Broke pipe is every mans embarrassing nightmare
Riding out this far was really awesome, I couldn't believe my stock bike made it!
Blurry party bus photo 1, featuring Phillip of mono.

Lester gettin' it


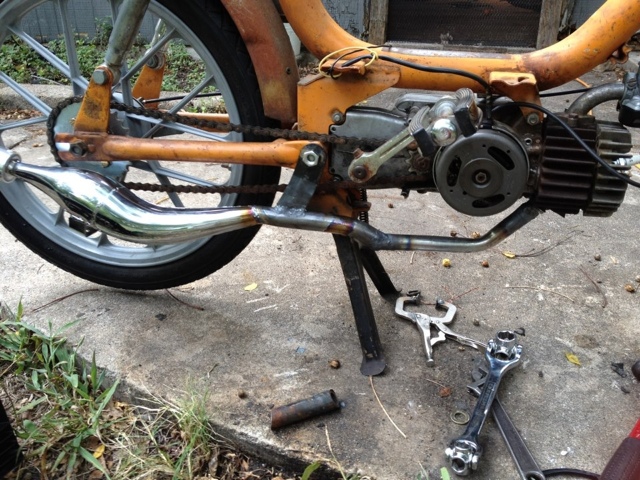
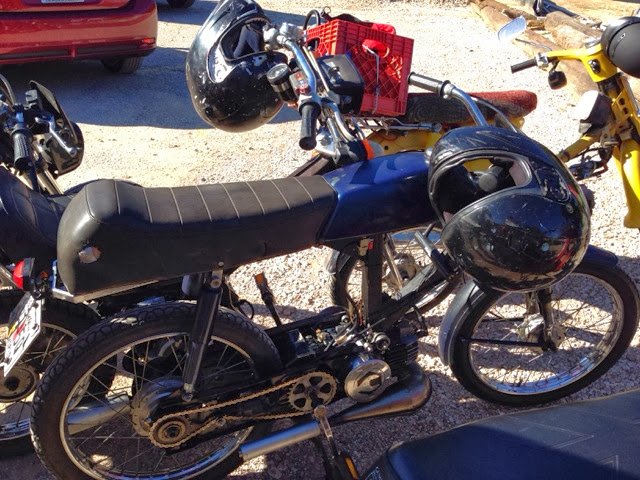
And now the hobbit. It's a 1978 PA50ii.
I knew I wanted a hobbit as I always see parts and performance info about them. I immediately understood the carb access complaints once I got this bike and begun trying to make it run.
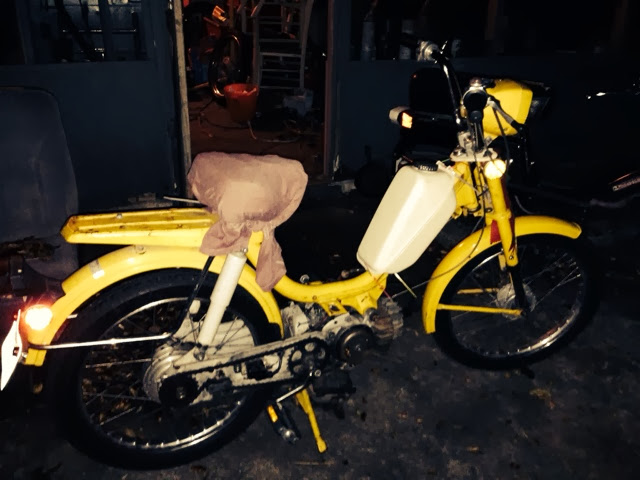
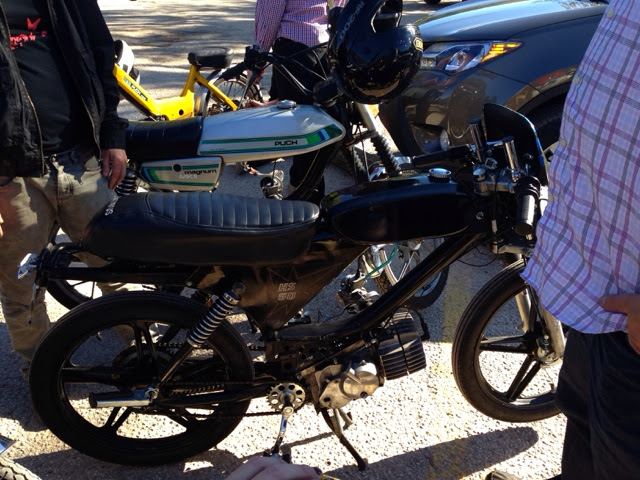
I was tired of having wiring trouble and not being able to get to the harness, so I put this little puch tank on it which I was saving for my second Trac project. The seat was all blowed out so I zip tied a shirt around it.
I put a proma pipe on it and loved what it did to the bike. Kinda loud but not a bad thing here in Austin id guess, as people drive like assholes and constantly text so the road presence is appreciated by me.
Took some dremel work to make the exhaust flange work, and a crushed gasket to get the studs to be able to poke enough threads through. Overall the easiest part of this little pain in the ass bike.

I got a Vespa grande frame and front end from a friend and while messing around discovered the front end looked like it would fit this bike. I ordered some new bearings (1/8") and tried it out. Works like a charm so far. I also found an old long seat sitting in my stuff I forgot about (compulsive moped army forum buy) and decided this needed to be on the hobbit.
^^long seat^^
The Vespa front end was a slight challenge, but a found a brake knarp thing that fit the Vespa brake cable and the honda brake control.
Dremeled to fit through the control slot
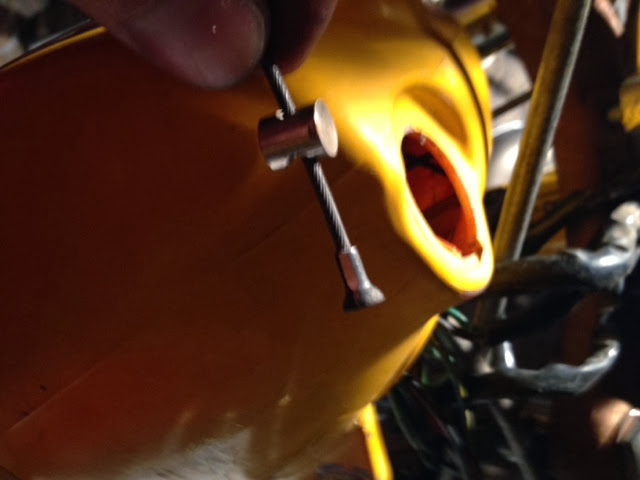
Handy knarpy bit


I needed to make a cable clamp at the brake hub for the grande wheel, so I took a bolt and dremeled a hole through it. 
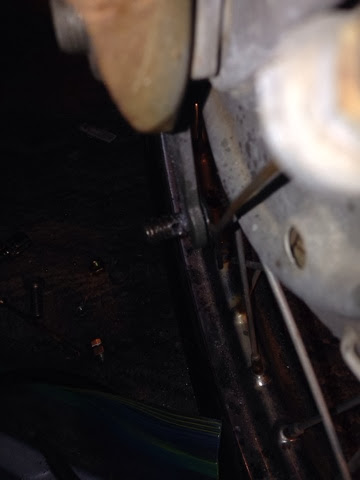
This one was a cheap carriage bolt and broke, but the end part was similar.


My wiring work got messed up while trying to stuff the connections into the cev bucket for the grande, but shouldn't be too tough to fix. Here is the general look of these parts put together.
It's gonna need some paint soon, but in the mean time this is all I've got the time for. I'll be extending the center stand soon to make up for the taller front end. A way more solid feel and better riding position this way for me.


Thursday, July 4, 2013

Garelli Eureka Restore

Finally got to work on the garelli, unfortunately because I needed to get something sellable for a personal emergency. I bought this bike from Austin Mopeds (super awesome local shop) years ago as a project bike from their boneyard. I bought a tank from a gentleman on moped army buy in sell, so figured since the tank paint was nice I'd repaint the bike to match the tank. 
Here's some early shots of the bike.
This is the bike as I received it with tank added. I decided to use a generic performance pipe from eBay. 
I made the mistake of not putting the expansion chamber closer to the header, but the bike performs exceptionally for stock. Shortly after this photo was taken I took the bike on a ride and had it up to 41mph, which is crazy for a stock non kitted bike. 
I was in a bit of a rush and had already serviced the bearings, so I was left with little choice but to mask things off and start painting. I used duplicolor engine enamel.
 Fenders
Post assembly. Not bad for basically a rush paint job. More photos to come. 

Thursday, May 30, 2013

Korea, Tracs and the Argentinean moped craze.

I've had some neat projects, but my camera on my phone won't work until I find a way to get all the videos on there off. So until then here's some nerner action for trac owners.
Did you know that Daelim (made Trac bikes in Korea) made models related to the liberty (kickstart 2-speed version of the olympic) for a super long time? And did you know in Korea they call the Trac Liberty the Daelim Handy? Good thing they changed the name for the states.

Also did you know the US distributor in the early 2000's got fed up and moved to Argentina? Well, I don't know that for sure but i've assembled that as a basic theory. In Argentina, the bike that's all the rage looks very familiar to the owners of Trac Liberty and Olympic bikes. Search Daelim Liberty Tuning on youtube and you'll see what I mean. Here's a sample of what goes on.

Monday, May 20, 2013

Trac Liberty of Silver Ships

Here's some photos my friends Naomi and Joseph of CraftPOP! here in Austin shot for Silver Ships promo. Silver Ships is my music project btw.


SilverShips.bandcamp.com for anyone interested.

Ok, more posts coming this week about moped projects!

Thursday, May 16, 2013

Moby to the rescue, and moby cylinder info

Been a while since I've worked on or posted about the mopeds, but a friend of mine who is ill and needing to have a cheap form of transportation asked me to get a moped going for her so I've got a good purpose. The goal will be to get my orange Mobylette 50 (variator converted) to run and idle reliably (it's always died intermittently at idle) and performing well as a basically stock bike for her to use.

By the way, here's a good mopedarmy.com thread on moby cylinder identification and differences, i.e. fast cylinders vs. slow cylinders.
The information is insightful but not a complete guide.

http://www.mopedarmy.com/forums/read.php?7,1996359,page=1

Also got paperwork through to get plates on my Hobbit and Trac Liberty, so I'll be posting soon about those bikes as well. 


Monday, January 21, 2013

Sorry for the lack of posts, my band Silver Ships has been preparing for live shows again and working on PR for an album soon to be released.
I'll be posting more moped stuff soon, probably not until I get some licensing issues handled on the bikes.
Here's some links to my music
SiverShips.bandcamp.com
facebook.com/silverships

Wednesday, January 2, 2013

Motobecane Snap Ring Pliers and Variator Removal

Moby variators are tricky to remove as
1. They almost completely require a tool (M24x1.0 pitch)
2. They require snap ring pliers with a long reach

The puller is easy to find, I bought mine from treats. If I had really known the measurements of the tool I probably could have found one real cheap on ebay or somewhere on the web, but I'll leave that to your business.

Once the clutch drum is removed it's difficult to reach in with snap ring pliers with a long enough reach to get to the 2 snap rings. I found this video which helped a lot in knowing what the hell was in there as once you remove one snap ring there is a set of washers/spacers blocking view of a second snap ring.

My problem was that my harbor freight snap ring pliers had no reach. The body of the tool hits in edge of the opening before it reaches the snap ring. I had built a tool to do this that worked ONCE, which required soldering 2 hardened steel nails with ground tips to the harbor freight tool. I broke this tool 5 times in the process of the job but it worked. Rather than waste my whole day breaking tools the second time I needed to do this I went to sears to see what they had.

The Sears snap ring pliers, though about $10 instead of $2, allowed different hex shaped needle points to be installed in them with a screw clamp. None of the stock needles are long enough for this job, so I cut the hardened steel nails again (Lowes molding & Trim Nails, Size 8D, item 532686) and used in place of the stock hex needles. Fuckin' Bingo.
Dremel Cutoff wheel works alright for this job, wear safety glasses dumb dumn.

I grinded it

Reach like a pro
The only thing that would make this tool work better is harder steel for the nails, as they have a tendency to flex a little. I had to trim these a couple times (once too short so I lost my reach, the next time just right) so they had less un-needed length. This stiffened them just enough to get the job done (HEYO).
This may very well be standard procedure but it confused the shit out of me so this is for all the snap ring noobs out there who may not know what tool to buy or where to buy it.